Introduction to Bottle Warmer Maintenance
As a parent, you want to ensure that everything your baby uses is safe and clean. This includes the bottle warmer, a device that many parents find indispensable. However, like any other appliance, a bottle warmer requires regular maintenance to function optimally. In this article, we will explore the importance of keeping your bottle warmer clean and the benefits of regular maintenance.
- Importance of keeping your bottle warmer clean
- Benefits of regular maintenance
Keeping your bottle warmer clean is not just about aesthetics; it’s about your baby’s health. Bacteria and mold can grow in warm, moist environments, and a dirty bottle warmer can become a breeding ground for these harmful organisms. Regular cleaning can prevent this, ensuring that your baby’s milk is always safe to drink.
Regular maintenance of your bottle warmer goes beyond cleaning. It involves checking the device for any signs of wear and tear, ensuring it’s working correctly, and replacing any worn-out parts. This not only prolongs the life of your bottle warmer but also ensures it operates at peak efficiency, heating your baby’s milk to the perfect temperature every time.
In the following sections, we will delve deeper into understanding your bottle warmer, provide a step-by-step cleaning guide, share tips for cleaning and maintaining your bottle warmer, and discuss the specific maintenance needs of breast milk warmers. We will also share some case studies to illustrate the importance of keeping your bottle warmer spotless. So, let’s get started!
Understanding Your Bottle Warmer
When it comes to feeding your baby, having the right tools can make all the difference. One of these essential tools is a bottle warmer. Understanding the different types of bottle warmers available can help you choose the one that best suits your needs and lifestyle.
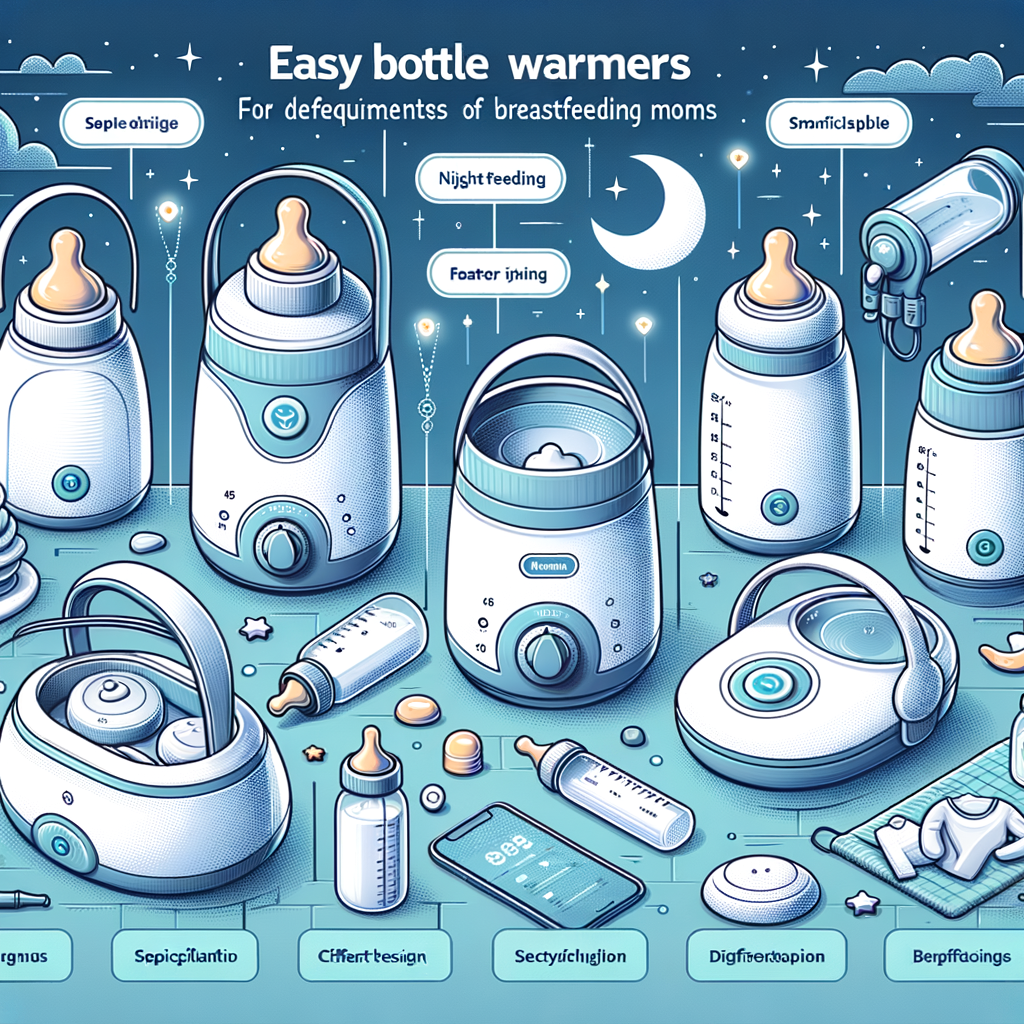
Types of Bottle Warmers
There are several types of bottle warmers, each designed to meet different needs. Let’s take a closer look at each one:
- Electric Bottle Warmers
- Car Bottle Warmers
- Travel Bottle Warmers
Electric bottle warmers are the most common type. They use electricity to heat up the bottle. These warmers are typically designed for home use. They come with different settings, allowing you to control the temperature of the bottle. This ensures that your baby’s milk is always at the perfect temperature.
Car bottle warmers are designed for families who are often on the go. They plug into your car’s cigarette lighter or USB port to heat up the bottle. This type of warmer is compact and portable, making it perfect for road trips or long drives.
Travel bottle warmers are designed for families who love to travel. These warmers are battery-operated or can be charged using a USB cable. They are compact and lightweight, making them easy to carry in your diaper bag. Some travel warmers also come with a car adapter, so you can use them while on the road.
Understanding the different types of bottle warmers can help you make an informed decision about which one is right for you. Whether you’re at home, on the road, or traveling, there’s a bottle warmer designed to meet your needs.
Parts of a Bottle Warmer
Understanding the different parts of a bottle warmer can help you use it more effectively and maintain it properly. Let’s take a look at the three main components of a typical bottle warmer:
- Heating Chamber
- Temperature Control
- Auto Shut-off Feature
The heating chamber is the heart of the bottle warmer. This is where you place the baby’s bottle to warm the milk. It’s designed to distribute heat evenly around the bottle, ensuring that the milk reaches a consistent temperature throughout. It’s important to keep the heating chamber clean to prevent the buildup of milk residues that could affect its performance.
The temperature control allows you to adjust the heat level according to your baby’s needs. Some models offer pre-set temperature options for different bottle sizes and milk types. Others allow for more precise manual adjustment. It’s crucial to use the temperature control responsibly to avoid overheating the milk, which can destroy its nutritional value and pose a burn risk.
The auto shut-off feature is a safety measure that turns off the bottle warmer once the desired temperature is reached or after a certain period of time. This prevents overheating and saves energy. It also gives you peace of mind, knowing that the bottle warmer won’t keep running if you forget to turn it off.
By understanding these parts and how they work, you can ensure that your bottle warmer operates efficiently and lasts longer. Remember, proper care and maintenance of these components can make all the difference in your bottle warmer’s performance and lifespan.
Step-by-Step Bottle Warmer Cleaning Guide
Keeping your bottle warmer clean is crucial for your baby’s health. Let’s dive into the step-by-step guide on how to clean your bottle warmer effectively.
Preparation for Cleaning
Before we start with the cleaning process, it’s essential to prepare your bottle warmer and gather all the necessary cleaning supplies. Here are the steps you need to follow:
- Unplug the Bottle Warmer
- Remove any leftover milk or water
- Gather your cleaning supplies
First and foremost, safety is paramount. Ensure you unplug the bottle warmer from the power source. This step is not only for your safety but also to prevent any damage to the device.
Empty the bottle warmer of any leftover milk or water. This step will make the cleaning process easier and more effective. Remember, leftover milk can breed bacteria, so it’s crucial to remove it.
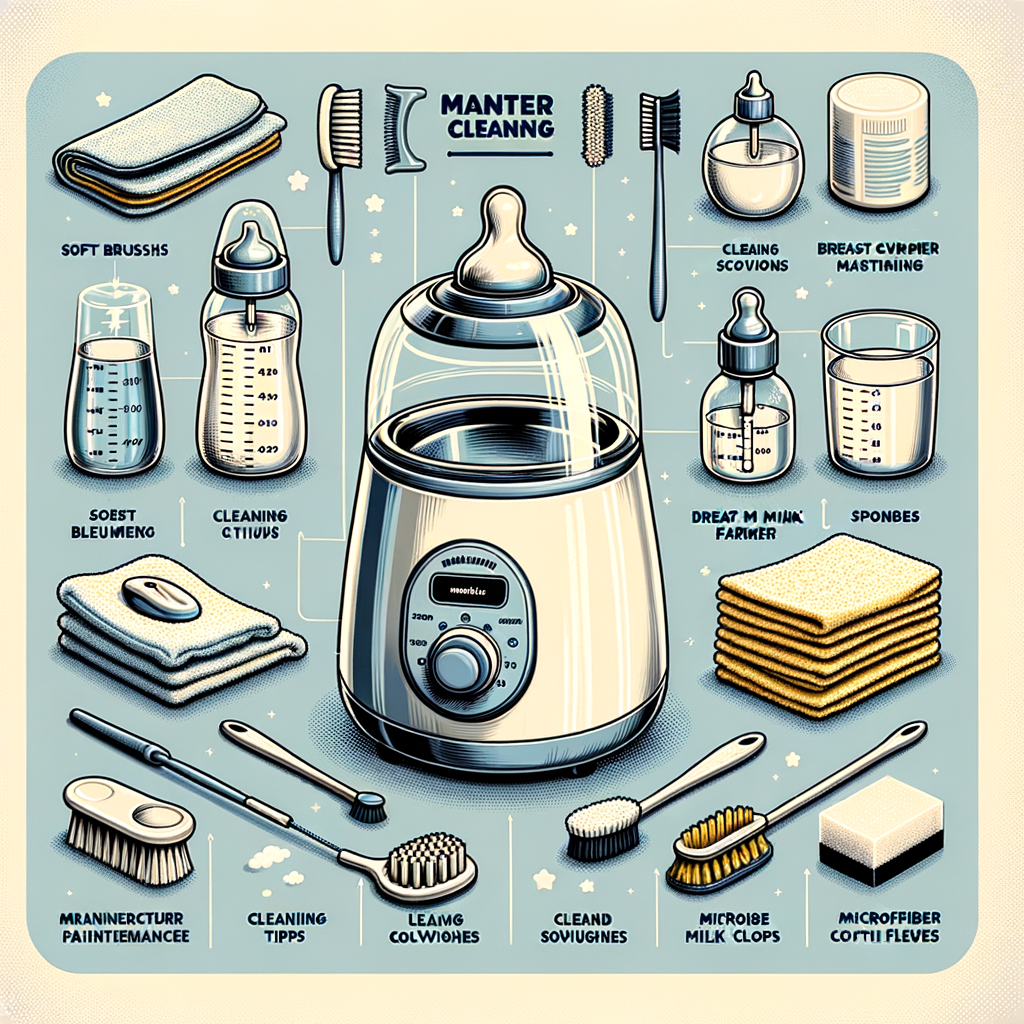
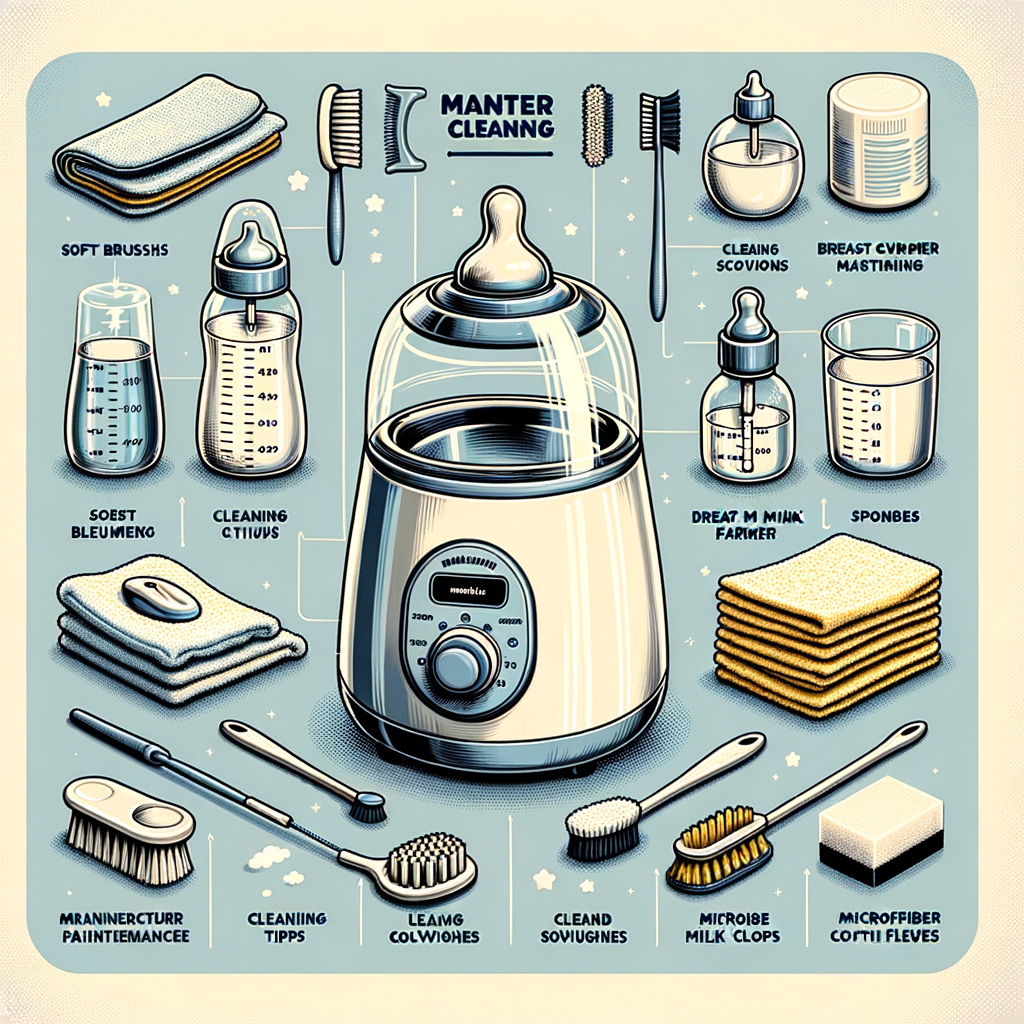
Now that your bottle warmer is unplugged and empty, it’s time to gather your cleaning supplies. You will need a soft cloth or sponge, mild dish soap, and clean water. Avoid using harsh chemicals as they can leave residues that might be harmful to your baby.
Now that we have prepared the bottle warmer for cleaning, we can move on to the actual cleaning process. Stay tuned for the next section where we will discuss the cleaning process in detail.
Cleaning Process
Now that you have gathered your cleaning supplies, it’s time to start the cleaning process. This process involves three main steps: cleaning the heating chamber, cleaning the exterior, and rinsing and drying. Let’s explore each of these steps in detail.
- Cleaning the Heating Chamber
The heating chamber is the heart of your bottle warmer. It’s where the magic happens – the warming of your baby’s milk. It’s also the part that gets the dirtiest. Here’s how to clean it:
- First, fill the chamber with a mixture of white vinegar and water. The vinegar will help to dissolve any milk residues.
- Next, turn on the warmer and let it run for a few minutes. This will help to loosen any stubborn deposits.
- After that, turn off the warmer and let it cool down. Then, use a soft brush to scrub the inside of the chamber.
- Finally, rinse the chamber thoroughly with clean water to remove any vinegar smell.
- Cleaning the Exterior
The exterior of your bottle warmer also needs attention. It can collect dust and dirt, which can affect its performance. Here’s how to clean it:
- First, wipe the exterior with a damp cloth to remove any dust or dirt.
- Next, use a mild soap and water solution to clean the surface. Be careful not to get any water into the electrical parts.
- Then, use a dry cloth to wipe the exterior dry.
- Rinsing and Drying
The final step in the cleaning process is rinsing and drying. This is important to ensure that no soap or vinegar residues are left behind. Here’s how to do it:
- First, rinse the warmer thoroughly with clean water.
- Next, turn the warmer upside down to drain any excess water.
- Finally, leave the warmer to air dry before using it again.
By following these steps, you can ensure that your bottle warmer is clean and ready to use. Remember, a clean bottle warmer is not just about aesthetics – it’s also about the health and safety of your baby.
Tips for Cleaning Bottle Warmer
Keeping your bottle warmer clean is not only essential for the health and safety of your baby, but it also extends the life of the appliance. Here are some tips to ensure you clean your bottle warmer effectively:
- Use of Mild Detergents:
- Regular Cleaning Schedule:
- Importance of Drying Before Storage:
When cleaning your bottle warmer, it’s crucial to use mild, baby-safe detergents. Harsh chemicals can leave residues that might mix with your baby’s milk, posing a health risk. Mild detergents are gentle on the bottle warmer’s components, ensuring they don’t wear out prematurely.
Establishing a regular cleaning schedule for your bottle warmer can help maintain its efficiency. Cleaning it after every use prevents the buildup of milk residues that can become a breeding ground for bacteria. A good rule of thumb is to clean the bottle warmer at least once a day if it’s frequently used.
After cleaning your bottle warmer, it’s essential to dry it thoroughly before storing it away. Any remaining moisture can lead to mold growth, which can be harmful to your baby’s health. You can air-dry the bottle warmer or wipe it down with a clean, dry cloth to ensure it’s completely dry.
Remember, a clean bottle warmer is a safe bottle warmer. By following these tips, you can ensure your bottle warmer is always ready to provide warm milk for your baby.
How to Clean Breast Milk Warmer
Cleaning a breast milk warmer properly is crucial for maintaining the health and safety of your baby. It’s not just about making it look clean, but also about ensuring that it’s free from harmful bacteria and germs. Here’s how you can effectively deal with breast milk residue and keep your warmer spotless.
Dealing with Breast Milk Residue
Over time, breast milk residue can build up in your warmer, which can lead to bacterial growth if not cleaned properly. Here are three simple steps to deal with this issue:
- Soaking in warm soapy water: The first step is to soak the warmer in warm soapy water. This will help loosen the milk residue. Fill a basin with warm water and add a few drops of mild dish soap. Submerge the warmer and let it soak for about 15 minutes.
- Using a bottle brush: After soaking, use a bottle brush to scrub the inside and outside of the warmer. Make sure to reach all the corners and crevices where milk residue might be hiding. Remember, a thorough scrubbing is key to removing all the residue.
- Rinsing thoroughly: Once you’ve scrubbed the warmer, rinse it thoroughly under running water. Make sure all the soap and milk residue are completely washed away. It’s important to rinse well to ensure that no soap residue remains, which could interfere with the functioning of the warmer or contaminate the milk.
By following these steps, you can ensure that your breast milk warmer is clean and safe for your baby’s use. Remember, a clean warmer not only works better but also ensures the health of your baby.
Baby Bottle Warmer Tips
When it comes to maintaining your baby bottle warmer, there are a few key tips that can help ensure its longevity and performance. Here are some essential tips to consider:
- Proper Storage
- Regular Inspection for Damages
- Following Manufacturer’s Instructions
Storing your baby bottle warmer correctly is crucial for its durability. Always ensure that the warmer is clean and dry before storing it. Keep it in a cool, dry place away from direct sunlight. This will prevent any potential damage caused by moisture or heat.
Regularly inspect your baby bottle warmer for any signs of damage. This includes checking for any cracks, leaks, or malfunctions in the heating element. If you notice any issues, it’s best to address them immediately to prevent further damage. Remember, a well-maintained warmer is not only more efficient but also safer for your baby.
Always follow the manufacturer’s instructions when using and maintaining your baby bottle warmer. These instructions are designed to ensure the safe and efficient operation of the device. They will guide you on how to clean the warmer, how often to do so, and what products are safe to use. Following these guidelines will help prolong the life of your warmer and ensure it performs at its best.
By following these tips, you can ensure that your baby bottle warmer remains in good condition for a long time. Remember, a well-maintained bottle warmer is not only more efficient but also safer for your baby.
Maintaining Breast Milk Warmer
Keeping your breast milk warmer in top-notch condition is crucial for your baby’s health and safety. It ensures that the warmer operates efficiently and lasts longer. Here are some long-term maintenance tips to help you get the most out of your breast milk warmer.
Long-Term Maintenance Tips
- Regular descaling: Over time, mineral deposits can build up in your breast milk warmer, affecting its performance. Descaling every 3-4 weeks can help keep it running smoothly. To descale, fill the warmer with equal parts of white vinegar and water. Let it sit for a few hours, then rinse thoroughly.
- Replacing worn out parts: Parts like seals and valves can wear out over time. Regularly inspect your warmer for any signs of wear and tear. If you notice any, replace them immediately. This will not only ensure the efficiency of your warmer but also prevent potential leaks and spills.
- Proper storage conditions: When not in use, store your breast milk warmer in a cool, dry place. Avoid areas with high humidity or temperature fluctuations, as these can damage the warmer’s components. Also, make sure to unplug the warmer and wrap the cord neatly to prevent any damage.
Remember, a well-maintained breast milk warmer is not only more efficient but also safer for your baby. By following these simple maintenance tips, you can ensure that your warmer stays in good working condition for years to come.
Breast Milk Bottle Warmer Maintenance: Case Studies
Let’s delve into some real-life examples that illustrate the importance of regular cleaning and proper maintenance of your breast milk bottle warmer. These case studies will provide you with valuable insights and practical lessons.
- Case Study 1: The Importance of Regular Cleaning
- Case Study 2: The Impact of Proper Maintenance on Lifespan
Meet Jane, a busy mother of twins. She used her bottle warmer several times a day but neglected its regular cleaning. Over time, she noticed a decrease in the warmer’s efficiency and an unpleasant odor. Upon inspection, she found that milk residues had built up inside the warmer, causing these issues.
After a thorough cleaning, the bottle warmer’s performance improved significantly, and the odor disappeared. This case study underscores the importance of regular cleaning to maintain the efficiency and hygiene of your bottle warmer.
Consider the experience of Mark, a first-time father. He made sure to clean his bottle warmer regularly and followed the manufacturer’s maintenance instructions to the letter. As a result, his bottle warmer lasted for over three years, serving him well even when his second child arrived.
This case study demonstrates how proper maintenance can significantly extend the lifespan of your bottle warmer, making it a reliable and cost-effective tool for your baby’s feeding routine.
Both these case studies highlight the importance of regular cleaning and proper maintenance in ensuring the efficiency, hygiene, and longevity of your breast milk bottle warmer. By incorporating these practices into your routine, you can make the most of your bottle warmer and ensure it serves you well for years to come.
Conclusion: The Importance of Keeping Your Bottle Warmer Spotless
As we reach the end of this comprehensive guide, it’s essential to understand the significance of maintaining a clean bottle warmer. Not only does it ensure the health and safety of your little one, but it also extends the lifespan of your device, making it a worthwhile investment.
- Summary of Key Takeaways
- Understanding your bottle warmer: It’s crucial to know the components of your device and how they function. This knowledge aids in effective cleaning and maintenance.
- Cleaning guide: We provided a step-by-step guide on how to clean your bottle warmer, ensuring it remains spotless and germ-free.
- Special tips: We shared some handy tips for cleaning your bottle warmer, including the use of natural ingredients like vinegar and baking soda.
- Breast milk warmer maintenance: We discussed the importance of keeping your breast milk warmer clean to ensure the health of your baby.
- Case studies: We looked at some real-life examples to understand the importance of regular maintenance.
- Final Thoughts on Bottle Warmer Maintenance
Throughout this article, we’ve discussed various aspects of bottle warmer maintenance. Here are the key points to remember:
Keeping your bottle warmer clean is not just about hygiene; it’s about ensuring the best for your baby. A well-maintained bottle warmer ensures that your baby’s milk is always at the right temperature, free from harmful bacteria and germs. Plus, it helps you save money in the long run by extending the life of your device.
Remember, a little effort goes a long way. Regular cleaning and maintenance can make a significant difference in the performance and longevity of your bottle warmer. So, make it a part of your routine, and ensure a healthy feeding experience for your little one.

