Introduction to Breastfeeding Transition
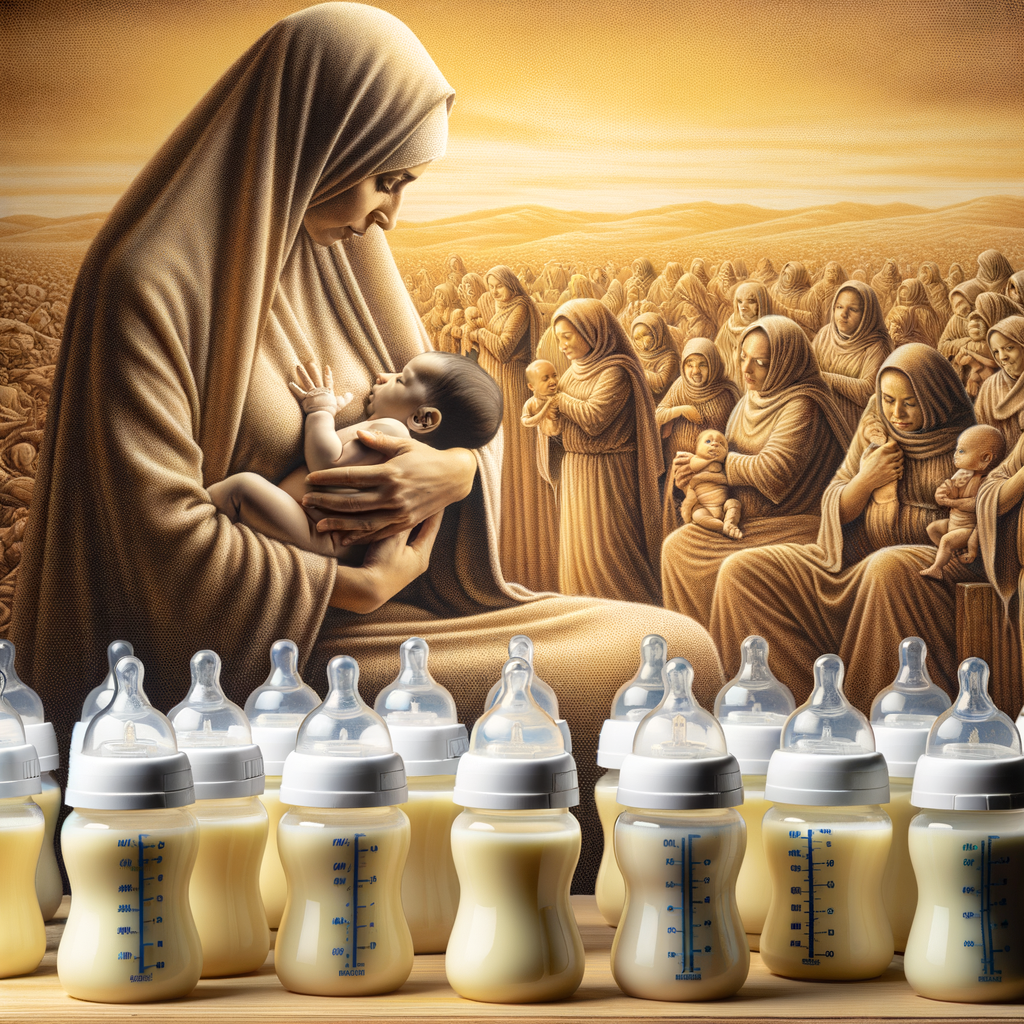
Transitioning from breastfeeding to bottle feeding is a significant step in a baby’s life. It’s a period of change that requires patience and understanding from both the mother and the baby. In this section, we will discuss the importance of breastfeeding and the challenges that may arise during the transition to bottle feeding.
- The Importance of Breastfeeding
- Challenges in Transitioning from Breast to Bottle
Breastfeeding is a crucial part of a baby’s early life. The World Health Organization recommends exclusive breastfeeding for the first six months of a baby’s life. This is because breast milk is packed with nutrients and antibodies that help protect the baby from illnesses. It also promotes a strong bond between the mother and the baby.
Transitioning from breast to bottle is not always a smooth process. It can be a challenging time for both the mother and the baby. Some babies may resist the bottle because it feels and tastes different from the breast. Mothers may also feel emotional about this transition. It’s important to remember that these challenges are normal and there are strategies to help make the transition easier.
In the following sections, we will delve deeper into the process of transitioning from breastfeeding to bottle feeding. We will discuss the role of bottle warmers, provide a step-by-step guide to bottle feeding, and share tips and tricks to make the transition smoother. We will also share a case study of a successful transition from breastfeeding to bottle feeding.
Understanding Bottle Warmers for Babies
When it comes to feeding your baby, maintaining the right temperature for their milk is crucial. This is where baby bottle warmers come into play. Let’s delve into what these devices are and the benefits they offer, especially for warming breast milk.
- What are baby bottle warmers?
- Benefits of using breast milk warmers
A baby bottle warmer is a device designed to heat your baby’s milk to the perfect temperature. It eliminates the risks associated with other warming methods, such as overheating or uneven heating when using a microwave. Bottle warmers are compact, easy to use, and can quickly warm milk, making them a convenient tool for parents.
Warming breast milk in a bottle warmer has several benefits. Firstly, it preserves the nutrients in the milk, which can be destroyed if the milk is heated too quickly or at a high temperature. Secondly, it ensures even heating, preventing hot spots that could potentially burn your baby’s mouth. Lastly, many bottle warmers are portable, making it easy to feed your baby on the go.
In conclusion, baby bottle warmers are an essential tool for any parent. They not only ensure that your baby’s milk is at the perfect temperature, but they also preserve the nutrients in the milk and provide a safe, even heat. Whether you’re at home or on the go, a bottle warmer can make feeding your baby a much smoother process.
Transitioning to Bottle Feeding: A Step-by-Step Guide
Transitioning from breastfeeding to bottle feeding can be a challenging process for both the mother and the baby. However, with the right approach and patience, it can be a smooth transition. Here is a step-by-step guide to help you through this process.
- Introducing the Bottle
- Switching from Breast to Bottle Gradually
- Choosing the Right Time for Transitioning
Introducing the bottle to your baby is the first step in the transition. Start by offering the bottle to your baby during a calm and relaxed time of the day. You can fill the bottle with breast milk or formula, depending on your preference. Remember, it’s okay if your baby doesn’t take to the bottle immediately. It might take a few tries before they get used to the new feeding method.
Switching from breast to bottle should be a gradual process. Start by replacing one breastfeeding session with a bottle feeding session. Once your baby becomes comfortable with this, you can start replacing more breastfeeding sessions with bottle feeding. This gradual approach helps your baby adjust to the new feeding method and can also help reduce the potential for nipple confusion.
Choosing the right time for transitioning from breast to bottle is crucial. It’s best to start the transition when your baby is not teething or sick, as these conditions can make the transition more difficult. Additionally, try to avoid starting the transition during a major life change, such as moving to a new house or starting daycare. The transition should be done during a calm and stable period in your baby’s life.
Remember, every baby is different and what works for one might not work for another. It’s important to be patient and flexible during this transition. With time and patience, your baby will successfully transition from breast to bottle.
Key Takeaways
| Steps | Key Points |
|---|---|
| Introducing the Bottle | Start during a calm and relaxed time. It’s okay if your baby doesn’t take to the bottle immediately. |
| Switching Gradually | Replace one breastfeeding session with a bottle feeding session at a time. This helps your baby adjust to the new feeding method. |
| Choosing the Right Time | Start the transition during a calm and stable period in your baby’s life. |
Choosing the Best Bottle Warmers
When it comes to feeding your baby, ensuring that the milk is at the right temperature is crucial. This is where bottle warmers come in handy. But with so many options available, how do you choose the best one? Let’s explore some key factors to consider and look at the top 5 best bottle warmers in the market.
- Factors to Consider When Buying a Bottle Warmer
Choosing a bottle warmer is not just about picking the most expensive or the most popular one. There are several factors to consider to ensure that you get the best value for your money and the most suitable product for your needs.
- Speed: How quickly does the warmer heat the milk? Some warmers can heat a bottle in less than a minute, while others may take several minutes.
- Temperature Control: Does the warmer have a feature that allows you to control the temperature? This is important to prevent the milk from overheating and losing its nutrients.
- Size and Capacity: Will the warmer accommodate the size and type of bottles you use? Some warmers are designed for specific bottle types, while others are more versatile.
- Portability: If you travel often or need to feed your baby on the go, a portable warmer would be a good choice.
- Price: While you want a quality product, it’s also important to consider your budget. Compare prices and features to find a warmer that offers the best value.
- Top 5 Best Bottle Warmers in the Market
Now that we’ve discussed the factors to consider, let’s look at some of the best bottle warmers available.
| Brand | Speed | Temperature Control | Size and Capacity | Portability | Price |
|---|---|---|---|---|---|
| Warmer 1 | Fast | Yes | Large | No | $$$ |
| Warmer 2 | Medium | Yes | Medium | Yes | $$ |
| Warmer 3 | Slow | No | Small | Yes | $ |
| Warmer 4 | Fast | Yes | Large | No | $$$ |
| Warmer 5 | Medium | No | Medium | Yes | $$ |
Remember, the best bottle warmer for you depends on your specific needs and preferences. Take the time to research and compare different models before making a decision.
Warming Breast Milk: Best Practices
When it comes to feeding your baby, ensuring the milk is at the right temperature is crucial. This is especially true for breast milk, which needs to be handled with care to maintain its nutritional value. Here are some best practices for warming breast milk using a bottle warmer.
Using a Bottle Warmer
A bottle warmer is a handy tool that can warm up breast milk to the perfect temperature for your baby. Here’s a step-by-step guide on how to use it:
- Step 1: Preparing the bottle warmer
- Step 2: Setting the right temperature
- Step 3: Warming the breast milk
Before you start, make sure the bottle warmer is clean and dry. Plug it into a power source and ensure it’s stable on the countertop. Most bottle warmers come with a water reservoir, fill it up to the indicated level.
Every baby has a preferred milk temperature. Start by setting the warmer to a medium temperature. You can adjust it higher or lower based on your baby’s preference. Remember, the goal is to warm the milk, not make it hot. A temperature around 98.6°F (37°C) is ideal, which is close to body temperature.
Place the bottle of breast milk into the warmer. Make sure the bottle is closed tightly to prevent any leaks. Start the warmer and let it do its job. It usually takes a few minutes to warm the milk. Once done, shake the bottle gently to evenly distribute the heat throughout the milk. Always test the milk temperature on your wrist before feeding your baby.
Using a bottle warmer is a simple and efficient way to warm breast milk. It ensures the milk is at a comfortable temperature for your baby, while preserving its nutrients. Remember, every baby is unique, so it may take a few tries to find the perfect temperature setting. Don’t be discouraged, and keep trying until you find what works best for your little one.
Without Using a Bottle Warmer
While bottle warmers are a convenient tool, it’s also possible to warm breast milk without one. Here are two steps to do so:
- Step 1: Using Warm Water
- Step 2: Testing the Milk Temperature
First, you’ll need a container that’s larger than the baby bottle. Fill it with warm water. The water should be warm, not hot. Once you’ve done this, place the bottle of breast milk in the container. Let it sit for a few minutes until the milk reaches the desired temperature. This method is simple and doesn’t require any special equipment.
After the milk has been in the warm water for a while, it’s time to test its temperature. You can do this by shaking the bottle and putting a few drops on the inside of your wrist. It should feel warm, but not hot. If it’s too hot, let it cool down before feeding your baby. If it’s too cold, put it back in the warm water.
Remember, the goal is to mimic the natural temperature of breast milk, which is about the same as body temperature. Too hot can burn your baby’s mouth, and too cold might not be as appealing to your baby.
Warming breast milk without a bottle warmer is a straightforward process. It might take a little longer, but it’s a reliable method that’s been used for generations.
Bottle Feeding After Breastfeeding: Tips and Tricks
Transitioning from breastfeeding to bottle feeding can be a challenging process for both mother and baby. However, with a few tips and tricks, it can become a smooth and enjoyable experience. Let’s explore some strategies to make this transition easier.
- Creating a Feeding Routine
Establishing a feeding routine can help your baby adjust to bottle feeding. Start by introducing one bottle feed per day, preferably at the same time each day. This consistency will help your baby understand what to expect and gradually get used to the new feeding method. As your baby becomes more comfortable with the bottle, you can slowly increase the number of bottle feeds.
- Involve Other Family Members in Feeding
One of the advantages of bottle feeding is that it allows other family members to participate in feeding the baby. This not only gives the mother a break but also helps the baby bond with other family members. Encourage your partner, older children, or grandparents to take turns feeding the baby. This involvement can make the transition to bottle feeding more enjoyable for the baby.
- Choosing the Right Bottle and Nipple
The right bottle and nipple can make a big difference in your baby’s transition from breast to bottle. Look for a bottle that is easy to clean and hold. When it comes to nipples, choose one that closely mimics the shape and flow of your breast. This can make the switch less confusing for your baby. Remember, every baby is different, so it might take some trial and error to find the bottle and nipple that work best for your baby.
In conclusion, transitioning from breastfeeding to bottle feeding is a significant step for both mother and baby. With patience, consistency, and the right tools, it can be a positive experience. Remember, every baby is unique, so what works for one might not work for another. Stay patient, keep trying different strategies, and soon, you and your baby will master the art of bottle feeding.
Case Study: Successful Transition from Breastfeeding to Bottle Feeding
Let’s delve into a real-life example that demonstrates the successful transition from breastfeeding to bottle feeding. This case study will provide valuable insights into the process, the challenges faced, and how a bottle warmer played a crucial role in the transition.
- Background of the case
- Challenges faced during the transition
- How the use of a bottle warmer helped
Our case involves a mother named Sarah, a first-time parent. Sarah breastfed her baby, Emma, for the first six months. However, due to her work commitments, she had to initiate the transition from breastfeeding to bottle feeding. She wanted to ensure that Emma could continue to receive breast milk, even when she was away.
The transition was not smooth sailing. Emma was used to breastfeeding and initially resisted the bottle. She would cry and refuse to take the bottle, causing stress for both Sarah and Emma. Additionally, Sarah found it challenging to keep the expressed breast milk at the right temperature, which is crucial for preserving its nutrients.
That’s when Sarah decided to try a bottle warmer. The bottle warmer ensured that the milk was always at the right temperature, mimicking the natural warmth of breast milk. This made the bottle more acceptable to Emma. The warmer also preserved the nutrients in the milk, giving Sarah peace of mind. Over time, Emma became more comfortable with the bottle, and the transition was successful.
In conclusion, Sarah’s experience shows that transitioning from breastfeeding to bottle feeding can have its challenges. However, with patience, perseverance, and the right tools like a bottle warmer, it is indeed possible to make the transition smoothly and successfully.
Conclusion: Mastering the Transition from Breast to Bottle
Transitioning from breastfeeding to bottle feeding is a significant step in your baby’s growth. It’s a journey that requires patience, understanding, and the right tools. In this article, we’ve explored the importance of bottle warmers, how to use them, and the best practices for warming breast milk. Let’s recap the key takeaways and share some final thoughts on the use of bottle warmers.
- Recap of key takeaways
- Final thoughts on the use of bottle warmers
Firstly, it’s crucial to understand that every baby is unique, and the transition might not be smooth for everyone. It’s okay to take your time and let your baby adjust at their own pace. Secondly, bottle warmers are a great tool to aid this transition. They help maintain the nutritional value of breast milk while ensuring it’s at the right temperature for your baby. Lastly, following the best practices for warming breast milk can make the feeding process easier and more comfortable for both you and your baby.
As we’ve seen, bottle warmers can be a game-changer in the transition from breast to bottle. They not only make the process more convenient but also ensure the safety and health of your baby by preserving the nutrients in breast milk and heating it to the right temperature. However, remember that the choice to use a bottle warmer is entirely personal. What matters most is that you find a method that works best for you and your baby.
In conclusion, the transition from breast to bottle is a journey filled with learning and growth. With patience, understanding, and the right tools, you can make this journey smoother and more enjoyable. Remember, you’re doing a great job, and every step you take is in the best interest of your baby’s health and happiness.

