Introduction to Breastfeeding Tips
Welcome to our comprehensive guide on breastfeeding. This section will provide you with valuable insights into the importance of breastfeeding and the common challenges faced by breastfeeding moms. Let’s dive in!
- The Importance of Breastfeeding
- Common Challenges Faced by Breastfeeding Moms
Breastfeeding is essential for both the mother and the baby. It not only provides the baby with the necessary nutrients for growth and development but also strengthens the bond between the mother and the baby. According to the American Academy of Pediatrics, breastfeeding can help protect the baby from diseases and allergies. Moreover, it can also reduce the mother’s risk of certain health problems, including breast and ovarian cancer.
Despite its numerous benefits, breastfeeding can sometimes be a challenging task. Many mothers face issues such as latching problems, sore nipples, and insufficient milk supply. Additionally, some mothers may experience emotional challenges such as anxiety and depression. It’s important to remember that these challenges are common and there are numerous resources available to help. In the following sections, we will provide some useful tips and DIY hacks to help you navigate these challenges.
Stay tuned for more information on DIY bottle warmers, homemade bottle warming methods, breast milk warming techniques, and more. We hope this guide will be a helpful resource for all breastfeeding moms.
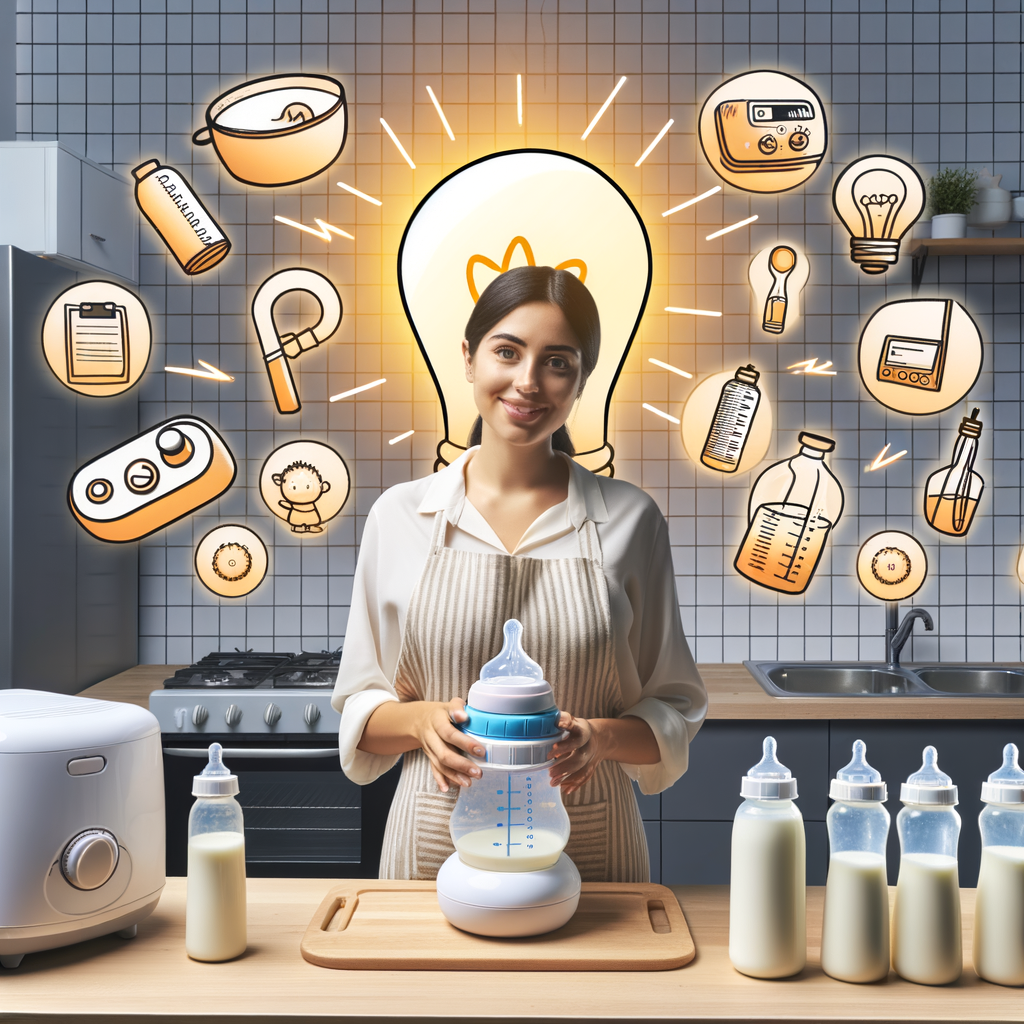
Understanding DIY Bottle Warmer
As a new parent, you may be overwhelmed with the numerous baby products available in the market. One such product that can make your life easier is a bottle warmer. But did you know you can make one at home? Let’s delve into understanding what a DIY bottle warmer is and its benefits.
What is a DIY Bottle Warmer?
A DIY bottle warmer is a homemade device that you can use to warm your baby’s milk. It’s a simple, cost-effective alternative to store-bought bottle warmers.
- Definition and purpose of a DIY bottle warmer: A DIY bottle warmer is a homemade device designed to heat up baby bottles. The main purpose of a DIY bottle warmer is to warm up a baby’s milk to a suitable temperature, making it easier for the baby to drink. It’s a practical solution for parents who want to save money or prefer a more natural approach to baby care.
- Benefits of using a DIY bottle warmer: There are several benefits to using a DIY bottle warmer. First, it’s cost-effective. You can make one using materials you likely already have at home, saving you the expense of buying a commercial bottle warmer. Second, it’s convenient. You can use it anywhere, anytime, making it perfect for trips or outings. Lastly, it’s safe. Since you’re in control of the materials and process, you can ensure it’s free from harmful chemicals often found in store-bought products.
In conclusion, a DIY bottle warmer is a practical, cost-effective, and safe solution for warming your baby’s milk. It’s easy to make and can be a great help in your parenting journey.
How to Make a DIY Bottle Warmer
Creating your own DIY bottle warmer can be a fun and practical project. Not only does it save you money, but it also allows you to customize the warmer to your specific needs. Here’s what you’ll need and how to do it:
- Materials Needed
- A small towel or cloth
- A microwave-safe container
- Water
- A microwave
- Baby bottle
- Step-by-step Instructions
- First, wet the small towel or cloth with water.
- Next, wring out the excess water. The towel should be damp, not soaking wet.
- Wrap the damp towel around the baby bottle.
- Place the wrapped bottle in the microwave-safe container.
- Heat it in the microwave for about 15 seconds. Be sure to watch it closely to prevent overheating.
- Finally, carefully remove the bottle from the microwave. Always test the temperature of the milk before feeding your baby.
Before you start, gather all the necessary materials. Here’s what you’ll need:
Now that you have all your materials, follow these steps to make your DIY bottle warmer:
And there you have it! A simple, cost-effective DIY bottle warmer. Remember, the key is to monitor the heating process closely to ensure the milk is at the right temperature for your baby.
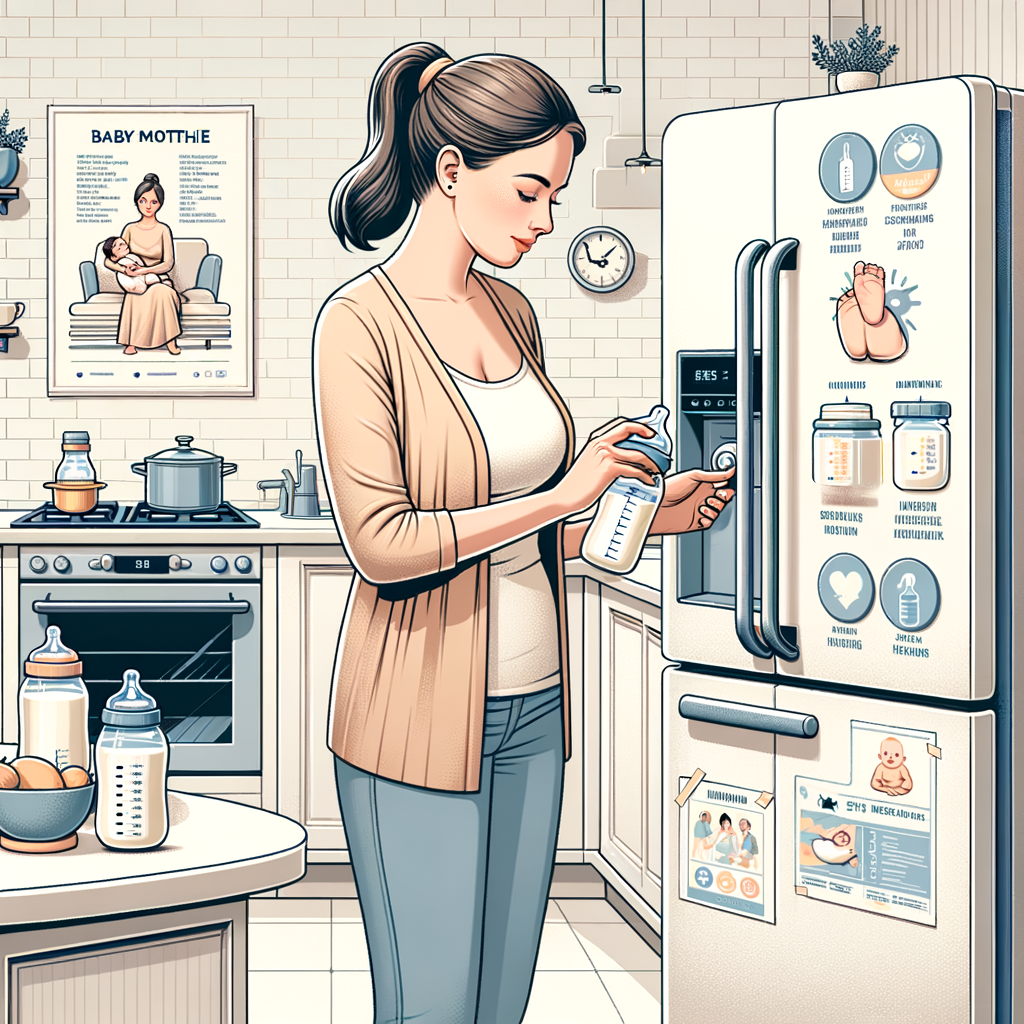
Homemade Bottle Warming Methods
One of the most common challenges for breastfeeding moms is how to warm a bottle of breast milk. Fortunately, there are several homemade methods that can be used. One of these methods is using warm water.
Using Warm Water
Warming a bottle using warm water is a simple and effective method. Here are the steps to follow and the pros and cons of this method.
- Steps to warm a bottle using warm water:
- Fill a bowl or basin with warm water. The water should be around 98.6°F (37°C), which is close to body temperature.
- Place the bottle in the warm water. Make sure the water level is high enough to reach the milk in the bottle.
- Let the bottle sit in the warm water for a few minutes. Check the temperature of the milk by shaking the bottle and putting a few drops on your wrist. It should feel warm, but not hot.
- Once the milk is at the desired temperature, take the bottle out of the water, dry it off, and it’s ready to serve.
- Pros and cons of this method:
| Pros | Cons |
|---|---|
| Easy to do | Takes a few minutes |
| No special equipment needed | Requires constant monitoring |
| Safe for the milk | Can be messy if water spills |
In conclusion, using warm water to heat a bottle of breast milk is a simple and effective method. It requires no special equipment and is safe for the milk. However, it does require a few minutes and constant monitoring to ensure the milk does not overheat.
Using a Bowl of Hot Water
One of the most common methods for warming a baby bottle is using a bowl of hot water. This method is simple, cost-effective, and requires no special equipment. Here’s how you can do it:
- Steps to warm a bottle using a bowl of hot water:
- First, fill a bowl with hot water. The water should be hot, but not boiling.
- Next, place the baby bottle in the bowl of hot water. Make sure the water level is high enough to reach the milk in the bottle.
- Let the bottle sit in the hot water for a few minutes. This will allow the heat from the water to gradually warm the milk.
- Finally, carefully remove the bottle from the hot water. Shake it gently to evenly distribute the heat and test the temperature of the milk before feeding it to your baby.
- Pros and cons of this method:
| Pros | Cons |
|---|---|
| Easy and straightforward to use | Requires constant supervision |
| No special equipment needed | Can take longer than other methods |
| Cost-effective | Temperature can be inconsistent |
In conclusion, using a bowl of hot water to warm a baby bottle is a simple and cost-effective method. However, it requires constant supervision and can take a bit longer than other methods. Always remember to test the temperature of the milk before feeding it to your baby to ensure it’s not too hot.
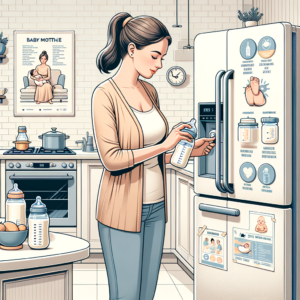
Breast Milk Warming Techniques
Warming breast milk correctly is crucial for maintaining its nutritional value and making it more palatable for your baby. Here, we will discuss the techniques for warming breast milk at home.
Warming Breast Milk at Home
Warming breast milk at home can be a simple process if you know the right steps. Here’s a guide to help you do it correctly.
- Steps to Warm Breast Milk at Home
- Take the breast milk out of the refrigerator and let it sit at room temperature for up to 15 minutes.
- Fill a bowl or pot with warm water. The water should be around 99°F (37°C), which is close to body temperature.
- Place the bottle of breast milk in the warm water. Let it sit for a few minutes until the milk reaches the desired temperature.
- Before feeding your baby, shake the bottle gently to evenly distribute the heat and test the milk’s temperature on your wrist. It should feel warm, not hot.
- Do’s and Don’ts of Warming Breast Milk
Follow these steps to ensure your breast milk is warmed safely and effectively:
Knowing what to do and what to avoid can help you warm breast milk safely and preserve its nutrients.
| Do’s | Don’ts |
|---|---|
| Do test the milk’s temperature before feeding your baby. | Don’t use a microwave to warm breast milk as it can create hot spots and destroy nutrients. |
| Do swirl the bottle gently to mix the milk and distribute the heat evenly. | Don’t heat the milk directly on the stove. |
| Do use warmed milk within two hours. | Don’t refreeze thawed milk. |
By following these steps and tips, you can ensure that your baby gets the most out of your breast milk. Remember, the goal is to warm the milk, not make it hot. Always test the temperature before feeding your baby.
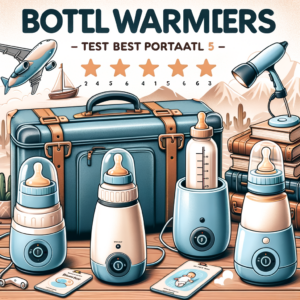
Warming Breast Milk On-the-Go
When you’re a busy mom on the move, it’s important to know how to warm breast milk while traveling. Here are some simple steps and tips to help you out.
- Steps to warm breast milk while traveling
1. Use a Portable Bottle Warmer: These are compact devices that heat up your milk bottle using a car charger or battery. Simply place your breast milk bottle in the warmer, plug it into your car’s power outlet, and wait for it to heat up.
2. Hot Water Flask: Carry a flask of hot water with you. When it’s feeding time, pour the hot water into a bowl and place the bottle of breast milk in it. The heat from the water will warm the milk.
3. Ask for Hot Water: If you’re in a restaurant or cafe, don’t hesitate to ask for a bowl of hot water to warm your baby’s milk.
- Tips for storing and warming breast milk on-the-go
1. Use Insulated Bags: Insulated bags can help keep your breast milk cool until you’re ready to warm it up for feeding.
2. Don’t Overheat: Overheating can destroy the beneficial nutrients in breast milk. Always test the milk temperature before feeding your baby.
3. Don’t Refreeze Thawed Milk: Once you’ve thawed frozen breast milk, it’s not safe to refreeze it. Plan your feedings accordingly to avoid waste.
Remember, every baby is different. What works for one might not work for another. So, don’t be afraid to experiment and find what works best for you and your baby.
| Method | Pros | Cons |
|---|---|---|
| Portable Bottle Warmer | Convenient, heats quickly | Requires power source, may not fit all bottle sizes |
| Hot Water Flask | No power needed, fits all bottle sizes | Need to carry hot water, slower heating |
| Ask for Hot Water | Free, no need to carry anything extra | Depends on availability, may not be hot enough |
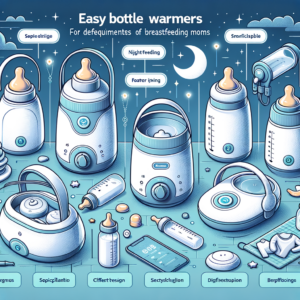
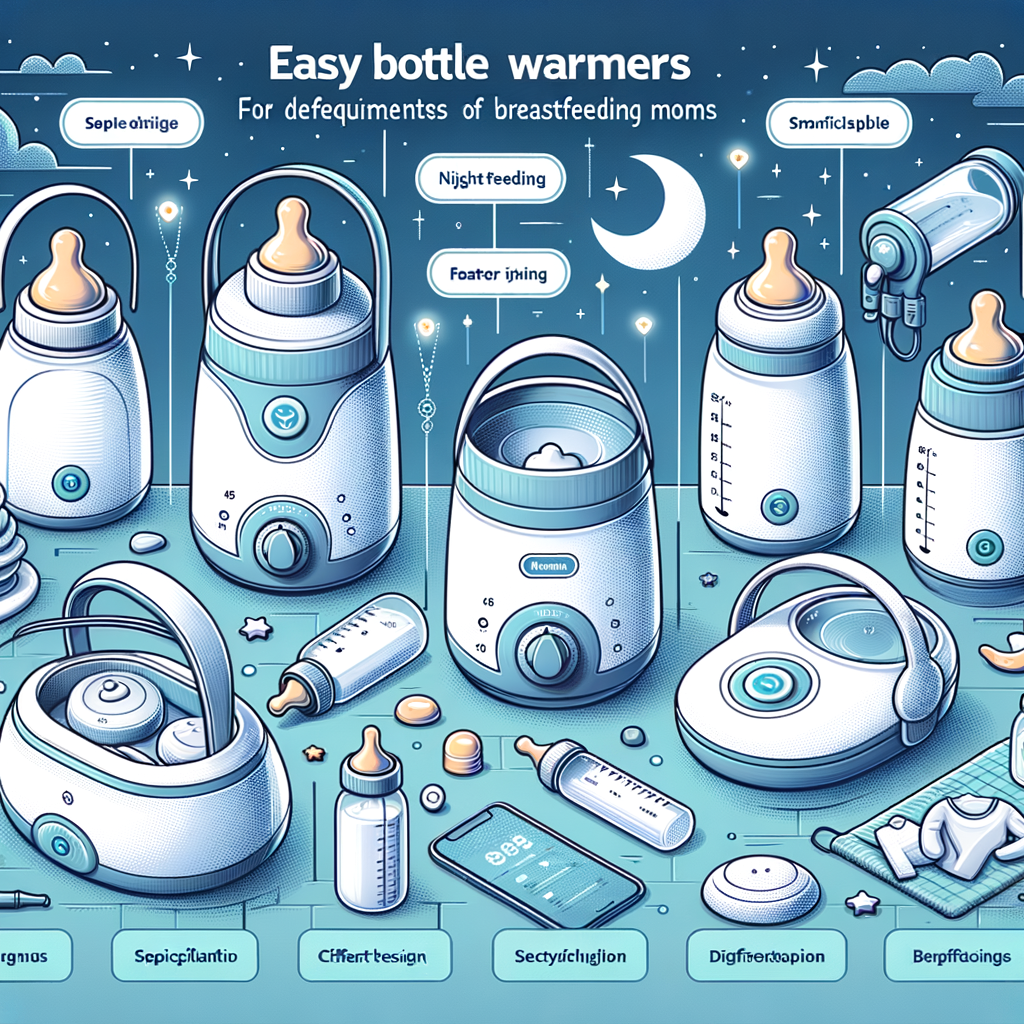
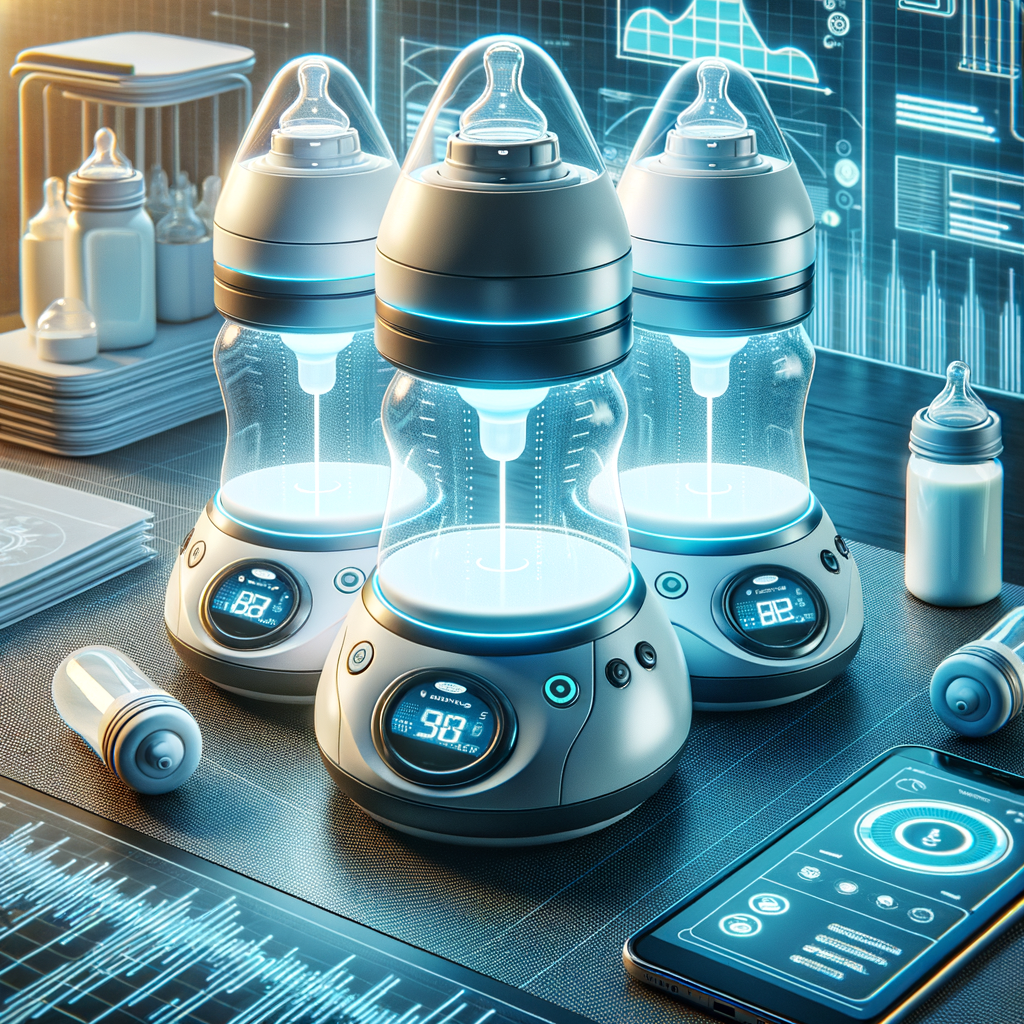
Bottle Warming Hacks
Warming a baby’s bottle to the perfect temperature can be a daunting task, especially for new parents. But don’t worry, we’ve got some quick and easy hacks that will make this task a breeze. Let’s dive in!
- Quick and Easy Hacks for Warming a Bottle
One of the simplest ways to warm a bottle is by using warm water. Fill a bowl with warm water and place the bottle in it for a few minutes. Make sure the water is not too hot, as it can overheat the milk. A good rule of thumb is to make the water about the same temperature as a warm bath.
Another hack is to use a bottle warmer. These devices are designed to heat bottles to the perfect temperature quickly and efficiently. They are a great investment for busy parents who don’t have time to wait for a bottle to warm up in a bowl of water.
- How to Maintain the Right Temperature for a Longer Time
Maintaining the right temperature for a longer time can be a bit tricky, but it’s not impossible. Here are a few tips:
First, always check the temperature of the milk before feeding it to your baby. You can do this by sprinkling a few drops on your wrist. The milk should feel warm, but not hot.
Second, if you’re using a bottle warmer, make sure to set the correct temperature. Most bottle warmers have a temperature control feature, so you can easily adjust the heat level.
Finally, try to feed your baby as soon as the bottle is warmed up. If you wait too long, the milk may start to cool down. If this happens, you can reheat the bottle, but make sure not to overheat it, as this can destroy some of the nutrients in the milk.
Remember, every baby is different, so it may take some trial and error to find the perfect bottle warming method for your little one. But with these hacks, you’ll be a bottle warming pro in no time!
Breastfeeding Mom Hacks
Being a new mom is a wonderful experience, but it can also be challenging, especially when it comes to breastfeeding. Here are some useful tips and hacks to make your breastfeeding journey a little easier.
- Useful Tips and Hacks for Breastfeeding Moms
- Use a Nursing Pillow: A nursing pillow can provide support for your baby and help position them correctly for breastfeeding. This can reduce strain on your back, neck, and arms.
- Invest in a Good Nursing Bra: A good nursing bra can provide comfort and support, making breastfeeding easier. Look for one with easy-to-use clasps and enough room to insert nursing pads.
- Stay Hydrated: Drinking plenty of fluids can help maintain your milk supply. Keep a water bottle nearby during feedings to remind yourself to drink regularly.
- Use a Breast Pump: A breast pump can be a lifesaver for breastfeeding moms. It allows you to express milk when your baby isn’t hungry and store it for later use.
- How to Manage Breastfeeding Along with Other Responsibilities
- Create a Schedule: Having a routine can make managing your time easier. Try to schedule feedings around your baby’s sleep patterns and your other responsibilities.
- Ask for Help: Don’t hesitate to ask for help from your partner, family, or friends. They can take care of some tasks while you’re feeding your baby.
- Take Care of Yourself: It’s important to remember to take care of yourself too. Try to find time for rest and relaxation, even if it’s just a few minutes a day.
- Use a Baby Carrier: A baby carrier can allow you to breastfeed your baby while keeping your hands free for other tasks.
There are several tips and hacks that can make breastfeeding more comfortable and manageable for new moms. Here are a few:
Managing breastfeeding along with other responsibilities can be a challenge. Here are some strategies that might help:
Remember, every mom’s breastfeeding journey is unique. What works for one mom might not work for another. The most important thing is to do what feels right for you and your baby.
DIY Breastfeeding Aids
When it comes to breastfeeding, every mother’s experience is unique. Some find it easy and natural, while others may face challenges. For those who need a little extra help, there are a variety of homemade aids that can make breastfeeding easier and more comfortable. These aids can also contribute to successful breastfeeding, ensuring that both mother and baby are happy and healthy.
- Homemade aids to make breastfeeding easier
There are several DIY aids that can make breastfeeding a smoother process. Here are a few examples:
- Nursing Pillows: A nursing pillow can provide support for your baby and help position them correctly for breastfeeding. You can easily make one at home using soft fabric and stuffing.
- Lactation Cookies: These are cookies made with ingredients like oats, flaxseed, and brewer’s yeast that can help increase milk supply. They’re easy to make and can be a tasty treat for breastfeeding moms.
- DIY Nipple Cream: Nipple cream can help soothe sore or cracked nipples. You can make your own at home using natural ingredients like coconut oil and shea butter.
- How these aids can help in successful breastfeeding
These homemade aids can significantly contribute to successful breastfeeding. Here’s how:
- Comfort and Support: Aids like nursing pillows can provide comfort and support, making breastfeeding less strenuous for both mother and baby.
- Increased Milk Supply: Lactation cookies can help increase milk supply, ensuring that your baby gets enough nutrition.
- Soothing Relief: Homemade nipple cream can provide relief from soreness and help prevent cracking, making breastfeeding more comfortable.
In conclusion, DIY breastfeeding aids can be a great help for new mothers. They’re easy to make, cost-effective, and can significantly contribute to a successful breastfeeding experience. Remember, every mother’s journey is unique, so don’t hesitate to try different aids and see what works best for you.
Tips for Breastfeeding Moms
Whether you’re a new mom or a seasoned parent, breastfeeding can sometimes be challenging. Here, we will provide some essential tips for new breastfeeding moms and discuss how to overcome common breastfeeding issues.
- Essential Tips for New Breastfeeding Moms
- Establish a Routine: Try to establish a routine for feeding your baby. This will help your body produce milk at the right times.
- Stay Hydrated: Drinking plenty of fluids will help you produce more milk. Try to drink a glass of water every time you breastfeed.
- Proper Latching: Make sure your baby is latching on correctly. This can prevent sore nipples and ensure your baby is getting enough milk.
- Take Care of Yourself: Your health is important too. Make sure you’re eating well and getting enough rest.
- How to Overcome Common Breastfeeding Issues
- Low Milk Supply: If you’re worried about low milk supply, try feeding more often and on demand. It can also help to stay hydrated and eat a balanced diet.
- Sore Nipples: If you’re experiencing sore nipples, make sure your baby is latching on correctly. You can also use a nipple cream to soothe the area.
- Mastitis: If you suspect you have mastitis (a painful infection of the breast tissue), it’s important to seek medical attention. Continue breastfeeding and try warm compresses to relieve pain.
As a new mom, breastfeeding can seem daunting. However, with a few tips, you can make the process smoother and more comfortable for both you and your baby.
Many moms face common issues while breastfeeding. Here are some tips on how to overcome them:
Remember, every mom’s breastfeeding journey is unique and it’s okay to ask for help. Don’t hesitate to reach out to a lactation consultant or your healthcare provider if you have any concerns or questions.
DIY Hacks for Moms
Being a mom is a full-time job. It’s a role filled with joy, love, and, let’s face it, a fair share of challenges. But don’t worry, we’ve got some handy DIY hacks to make your mom life a little bit easier.
- Useful DIY hacks for busy moms
- Quick Cleanup: Use a lint roller to pick up glitter, crumbs, and other small messes. It’s faster than vacuuming and perfect for those unexpected messes.
- Easy Meal Prep: Prepare and freeze meals in advance. This way, you’ll always have a healthy meal ready to go, even on your busiest days.
- Toy Organization: Use a shoe organizer to store small toys. It’s a great way to keep everything in its place and easy to find.
- How these hacks can make mom life easier
- Save Time: By implementing these hacks, you can save precious time that can be spent on more important things, like spending quality time with your family.
- Reduce Stress: When things are organized and prepared in advance, you can reduce the stress that comes with the chaos of everyday life.
- Boost Efficiency: These hacks can help you become more efficient in your tasks, giving you more control over your day.
Here are some simple yet effective DIY hacks that can save you time and energy:
These DIY hacks can make a significant difference in your daily routine:
Remember, every mom’s journey is unique. What works for one may not work for another. So, feel free to tweak these hacks to suit your needs. After all, you’re the expert when it comes to your family.
Conclusion
-
As we wrap up this informative journey, let’s revisit the significance of proper bottle warming techniques. Ensuring that your baby’s milk is at the right temperature is not just about comfort, but also about health. Incorrectly warmed milk can lose its nutritional value or even pose a risk to your baby’s delicate digestive system. Therefore, mastering the art of bottle warming is a crucial skill for every mom.
-
Now that you are armed with a variety of DIY hacks and tips, we encourage you to try them out. Remember, every baby is unique and what works for one might not work for another. Don’t be disheartened if the first method you try doesn’t work out; perseverance is key. By experimenting with these tips, you’ll soon discover the methods that work best for you and your baby.
Being a mom is a beautiful journey filled with love, joy, and challenges. But with the right tools and knowledge, you can make this journey smoother. So go ahead, try these DIY hacks and tips, and make your breastfeeding journey a memorable one!